
Breading chicken cutlets is a classic culinary technique designed to enhance both texture and flavor. However, one common query among cooks is whether it’s necessary to flour chicken cutlets before breading with the egg wash and breadcrumbs. This exploration aims to answer that question by analyzing the function of flour in the breading process and considering alternatives that might suit different dietary needs.
The Function of Flour in Breading
Understanding the benefits of flouring chicken cutlets before breading can greatly improve your culinary results. Here’s why this step is crucial:
Improves Adhesion of Breading
- Flouring the chicken creates a dry and rough surface that enhances the adhesion of subsequent layers, ensuring that both the egg wash and breadcrumbs stick to the cutlet effectively.
Acts as a Moisture Barrier
- Applying a layer of flour helps to seal in the juices of the chicken, preventing excess oil from penetrating during frying, which can make the cutlet greasy.
Contributes to Even Cooking
- Flour provides an initial layer that helps the egg and breadcrumbs adhere uniformly, promoting even cooking and preventing areas that might cook faster and dry out.
Enhances Flavor and Texture
- The flour layer crisps up during cooking, offering a satisfying crunch. It can also be seasoned with spices and herbs to enhance the overall flavor profile of the chicken cutlets.
Facilitates Cleaner Cooking
- Flouring chicken cutlets before breading can make the cooking process cleaner by reducing oil splatter due to the containment of natural moisture.
Flouring chicken cutlets before breading not only ensures that the breading adheres properly but also enhances the texture and flavor of the final dish. This step makes the cooking process cleaner and more manageable, resulting in juicier and more evenly cooked cutlets. By integrating these practices into your cooking routine, you can achieve consistently better outcomes, enhancing both the enjoyment and quality of your meals. Discover traditional breaded chicken cutlets at Food.com Breaded Chicken Cutlet Recipe.
Detailed Breading Process
Breading chicken cutlets is a culinary technique used to create a crispy, flavorful crust. A properly breaded chicken cutlet not only looks appetizing with its golden-brown coating but also enhances the taste and texture of the chicken. Here’s a detailed guide on how to effectively bread chicken cutlets:
1: Preparation of the Chicken
- Trim and Clean: Start by trimming any excess fat from the chicken cutlets. Make sure they are clean and ready to be breaded.
- Pound to Even Thickness: Use a meat mallet to pound the chicken to an even thickness. This ensures that each cutlet cooks uniformly.
2: Setting Up the Breading Station
- Three-Part Station: Set up a breading station with three shallow dishes. The first dish contains flour, the second one beaten eggs, and the third breadcrumbs.
- Seasoning the Flour: Season the flour with salt, pepper, and any other spices you prefer (like garlic powder or paprika) to add flavor directly to the meat’s surface.
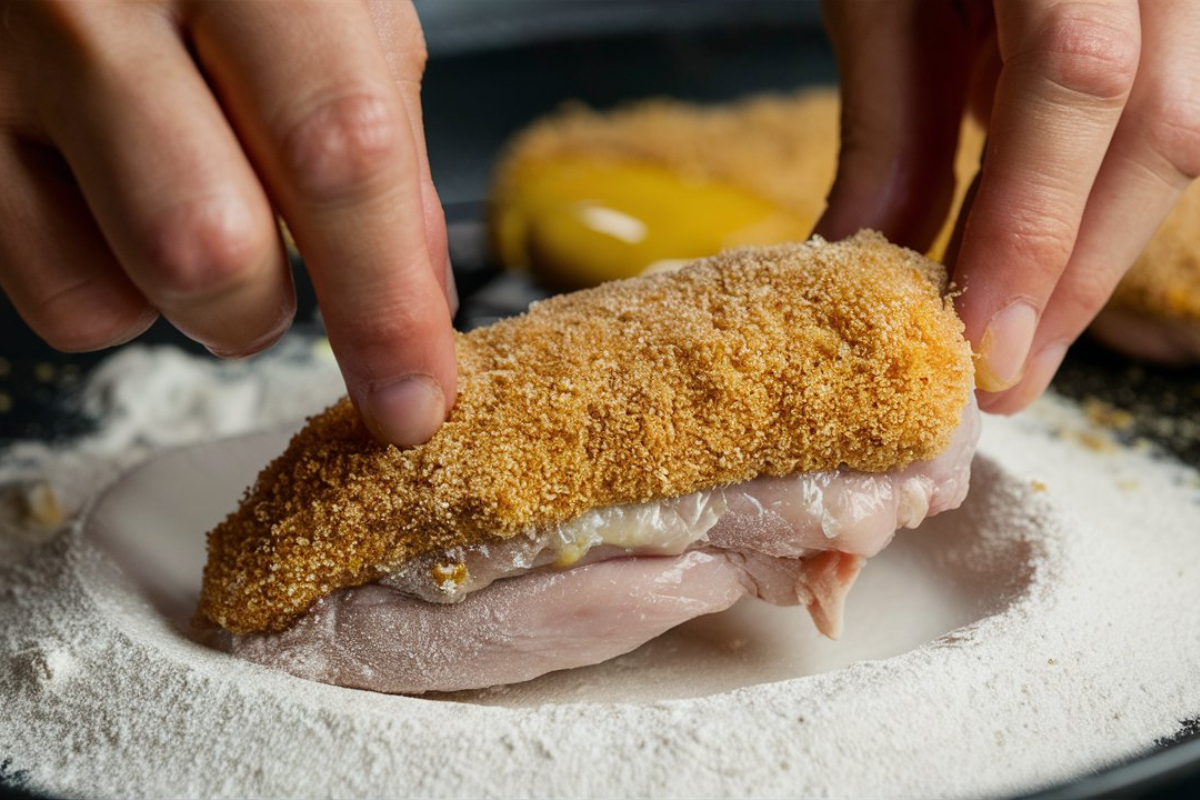
3: Dredging in Flour
- Coating the Chicken: Dredge each chicken cutlet in the flour, ensuring it’s fully coated. Shake off any excess flour. The light dusting of flour helps the next layer, the egg, adhere better to the chicken.
4: Egg Wash
- Dipping in Egg: Dip the floured cutlets into the beaten eggs. Ensure the entire surface is covered in egg wash, as this acts as the glue for the breadcrumbs.
5: Applying Breadcrumbs
- Breading with Breadcrumbs: Coat the egg-dipped cutlets with breadcrumbs. For added texture, you can use panko breadcrumbs, which provide a crunchier exterior.
- Pressing the Breadcrumbs: Gently press the breadcrumbs onto the chicken to ensure they stick well and create a uniform layer.
6: Cooking
- Frying: Heat oil in a large skillet over medium-high heat. Once hot, fry the breaded cutlets until they are golden brown on each side and cooked through, typically about 3-4 minutes per side depending on thickness.
- Baking Option: For a healthier option, you can bake the breaded cutlets at 375°F (190°C) for 20-25 minutes, or until the internal temperature reaches 165°F (74°C) and the breading is golden and crispy.
7: Serving
- Resting: Let the cooked cutlets rest for a few minutes before serving. This helps the juices redistribute, keeping the meat moist.
- Presentation: Serve hot with lemon wedges, a side of vegetables, or a dipping sauce.
The breading process, though involving several steps, is straightforward and can be mastered with practice. By following this detailed method, you can achieve perfectly breaded chicken cutlets that are crispy on the outside and tender and juicy on the inside. Whether fried or baked, breaded chicken cutlets make for a satisfying meal that appeals to a wide range of tastes.
Evaluating the Necessity of Flour
Flour Alternatives
When breading chicken cutlets, using flour is the traditional method to help the breading stick and to achieve a crispy exterior. However, for various reasons such as dietary restrictions or preference, you might want to explore flour alternatives. Here are some effective substitutes that can be used in place of flour when preparing breaded chicken cutlets:
Cornstarch
- Cornstarch offers a lighter texture and can help achieve a crisper, less greasy finish. It’s also naturally gluten-free, making it a great alternative for those avoiding gluten.
Rice Flour
- Rice flour is another gluten-free alternative that provides a crispy texture similar to traditional flour. It’s especially popular in Asian cuisine for crispy fried foods.
Chickpea Flour
- Chickpea flour, also known as besan or gram flour, is high in protein and gluten-free. It adds a subtle nutty flavor and is thicker than most other flour alternatives, which can result in a heartier breading.
Almond Flour
- Almond flour is a low-carb, gluten-free alternative that adds a mild nutty flavor to chicken cutlets. It’s less likely to create a crispy crust than other flours but offers a unique taste and texture.
Coconut Flour
- Coconut flour is highly absorbent and requires more moisture than other flours, so it can be challenging to work with. However, it provides a slightly sweet flavor and is low in carbs, making it suitable for those on ketogenic diets.
Ground Oats
- Ground oats can be used for a more fibrous, hearty texture. While not as crisp as other alternatives, ground oats are healthy and provide a different flavor profile.
Potato Starch
- Potato starch is a fine, white powder that crisps well when fried, making it ideal for a crunchy coating on chicken cutlets. It’s also gluten-free and helps lock in moisture.
These alternatives not only cater to various dietary needs but also add diverse flavors and textures to your dishes. When substituting for flour in breading, consider the unique properties of each alternative to best match the desired outcome of your recipe.
Choosing whether to flour chicken cutlets before breading depends on your culinary goals and dietary preferences. Understanding the role of each component in the breading process allows for more informed decisions and potentially more delicious outcomes, whether you stick with traditional methods or experiment with new techniques.